
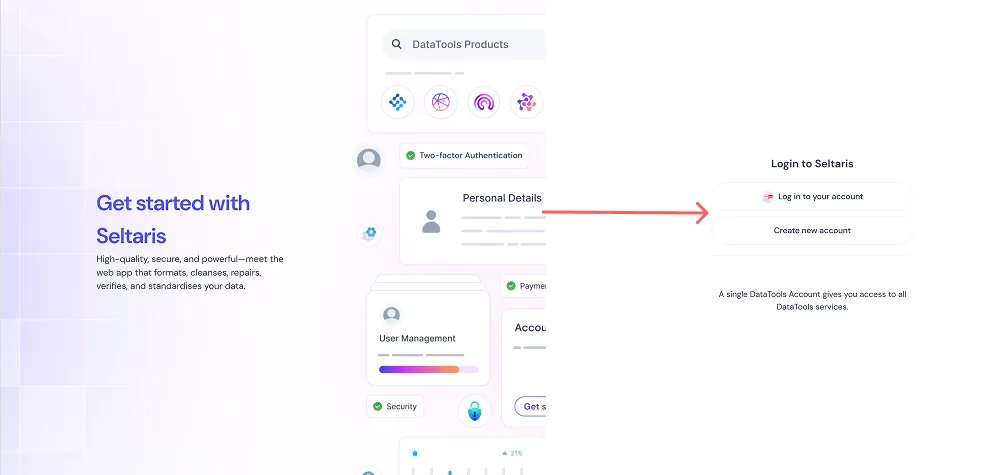
If you already have an account, click Log in to your account and skip ahead to Step 7
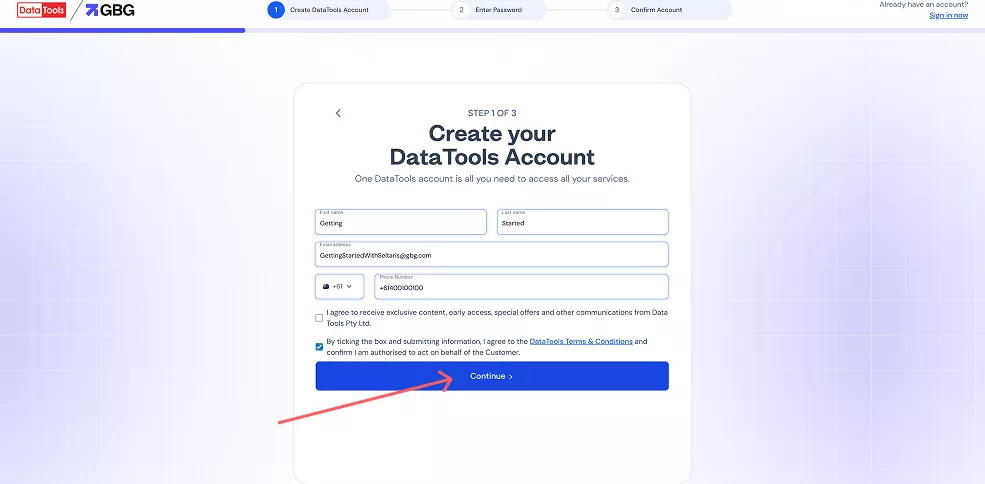
Fill in your details and click Continue. If you already have an account, you’ll be redirected to the sign-in page
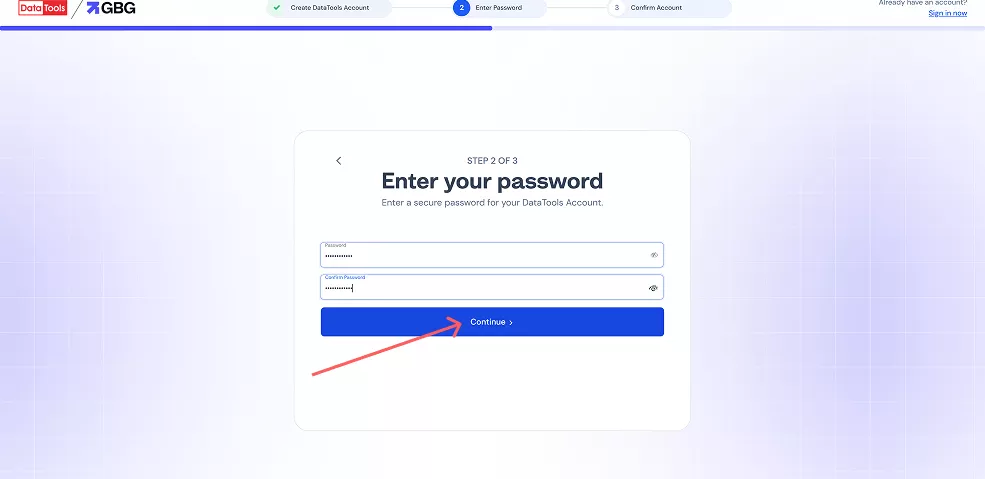
Enter and confirm your password, then click Continue.
Check your inbox for a confirmation email. If you don’t see it, check your junk folder. If it still hasn’t arrived, you can resend the email once every 60 seconds.
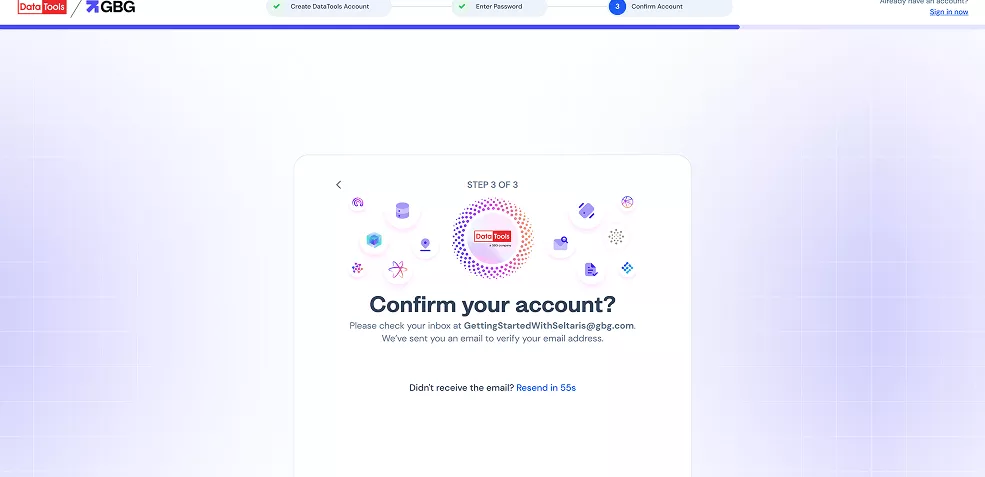
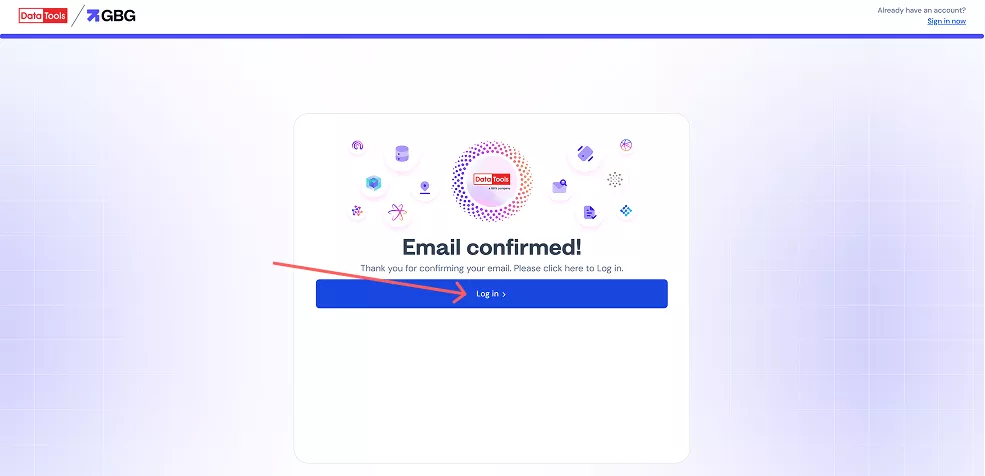
Click Confirm Email in the email, or copy and paste the link into your browser.

Your email is now confirmed, you can log in to Seltaris.
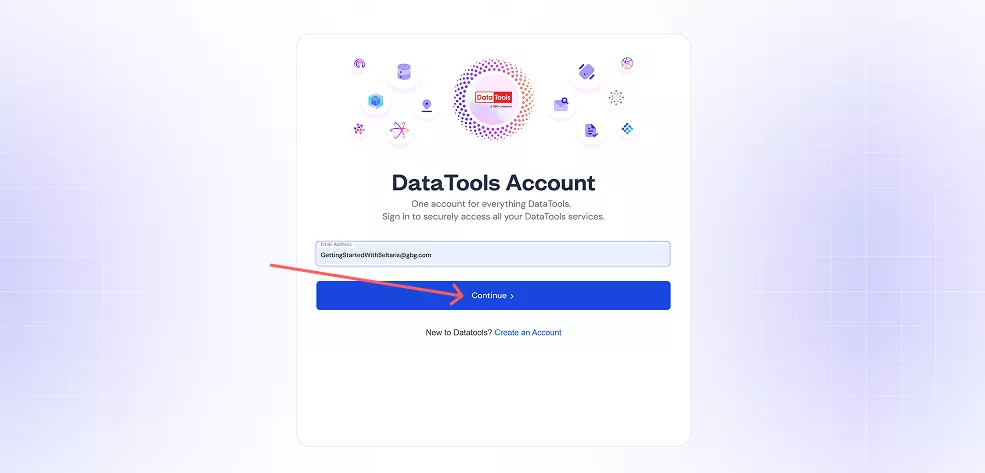
Enter your email address and click Continue. If it isn’t registered, you’ll be prompted to create a new account (return to Step 2).
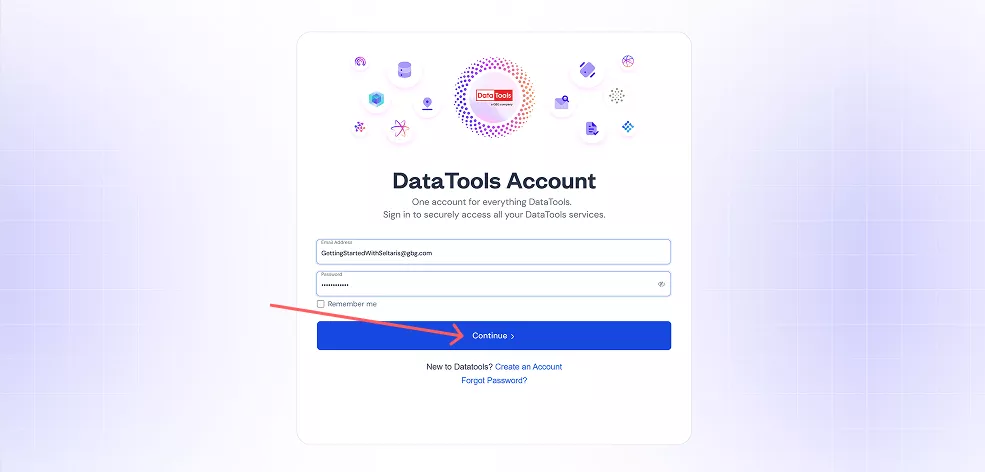
Enter your password and click Continue.
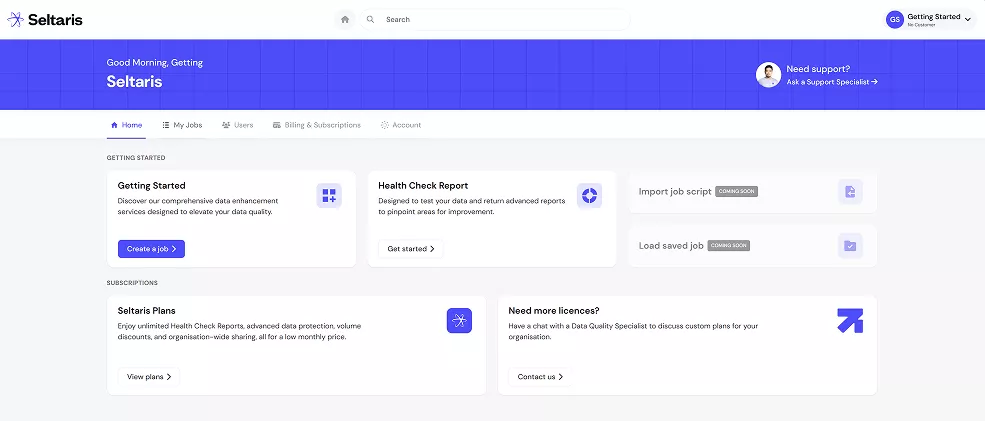
You now have access to Seltaris
End
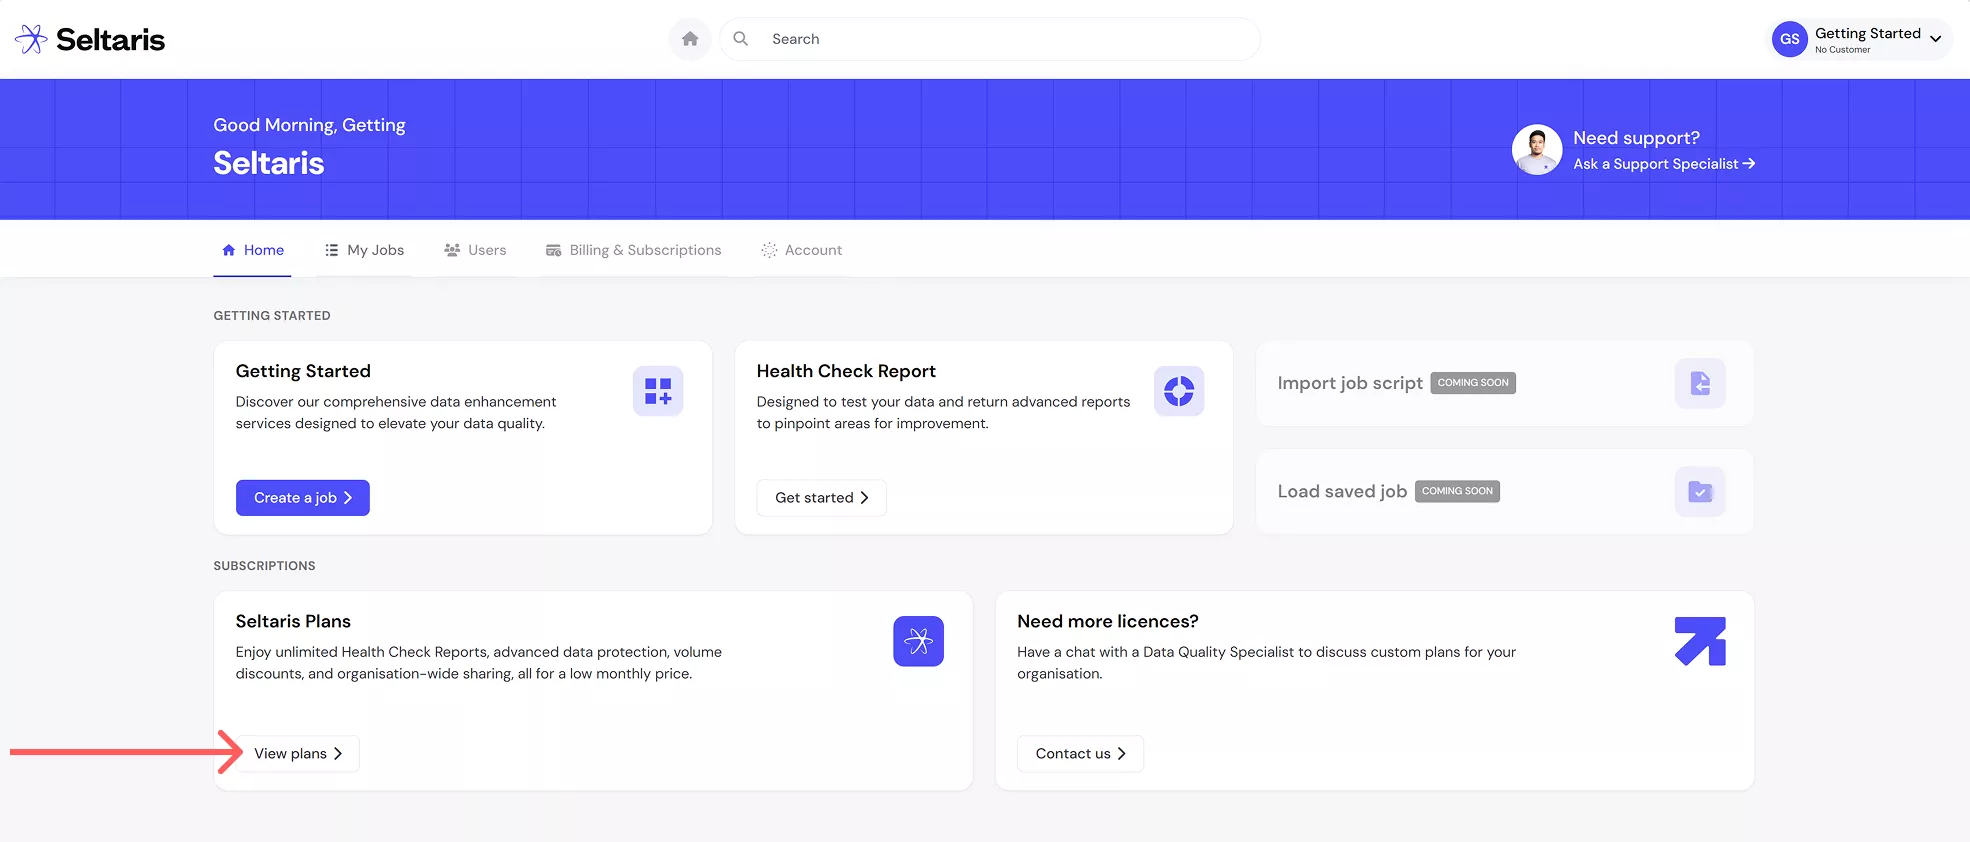
After creating an account or signing in, click on View plans to view the Seltaris+ plans.
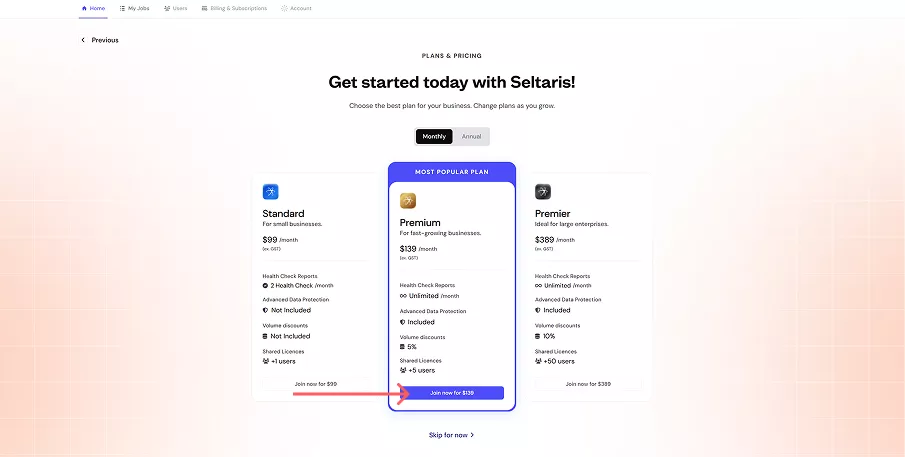
Click Join now on the plan you would like. For this example we will use the Premium plan.
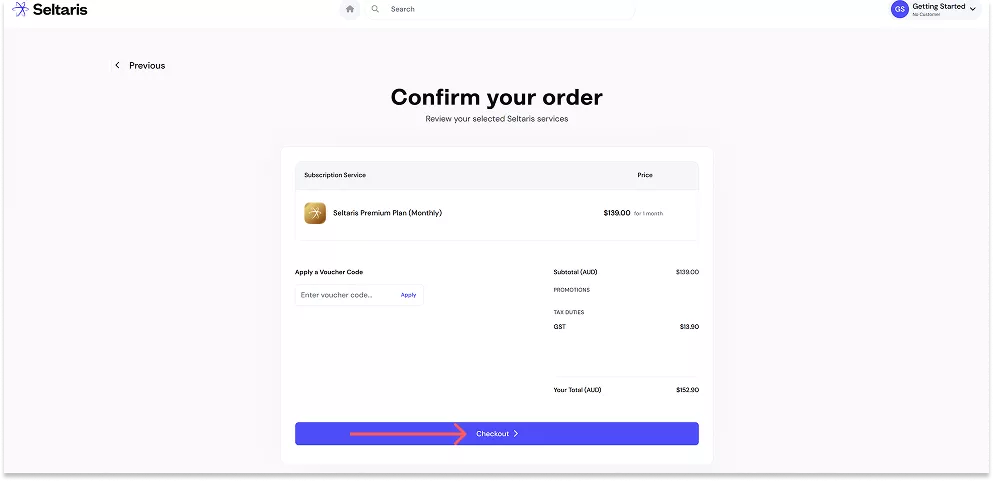
Confirm your order details, then click Checkout.
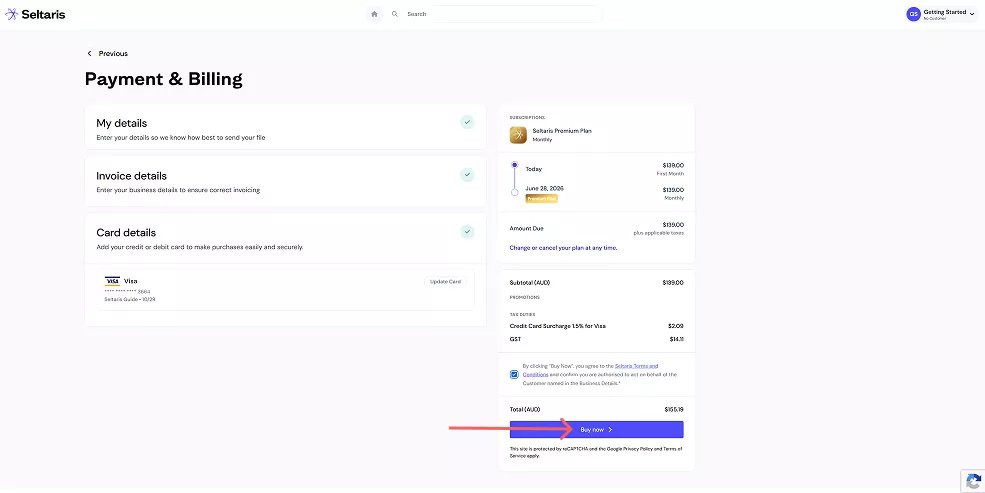
Enter your Payment & Billing details as prompted.
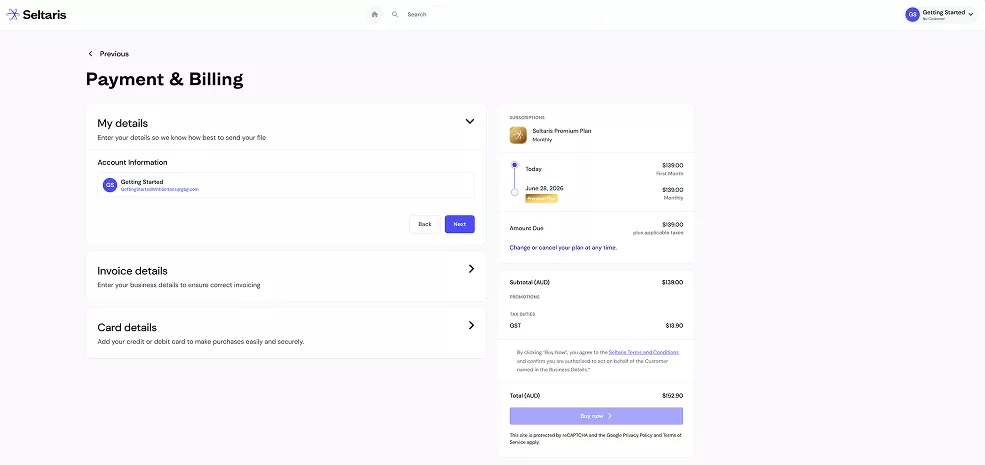
Once your details are filled in, a green tick will appear.
Review the Seltaris Terms and Conditions and confirm you have read them. Then, review your total and press Buy Now.
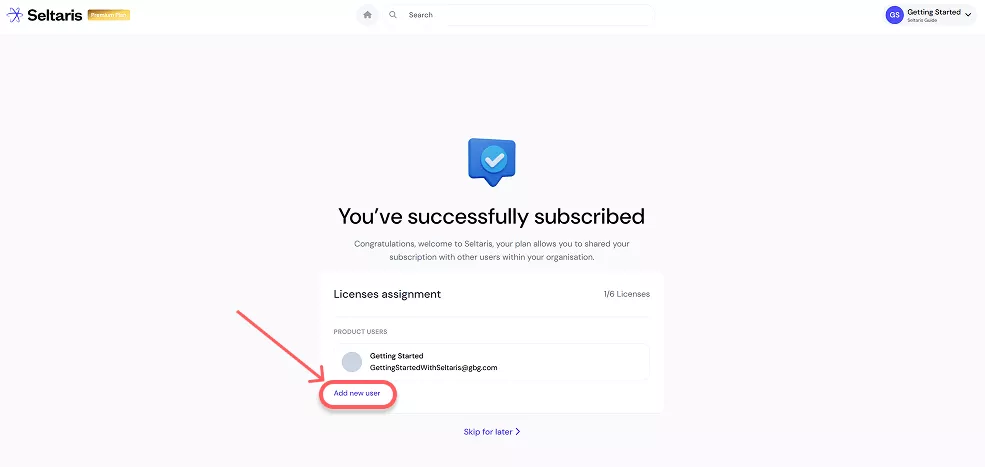
To share your plan with someone in your organisation, click Add New User and follow the
Getting Started: How To Share a Plan.

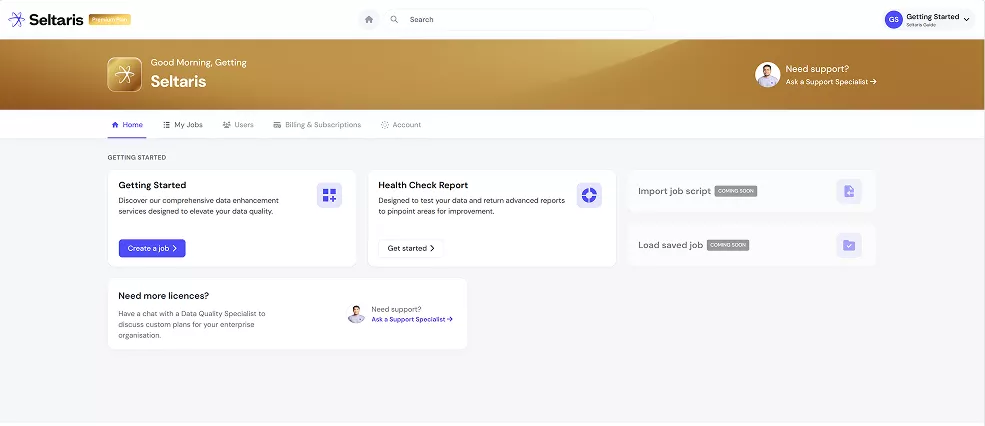
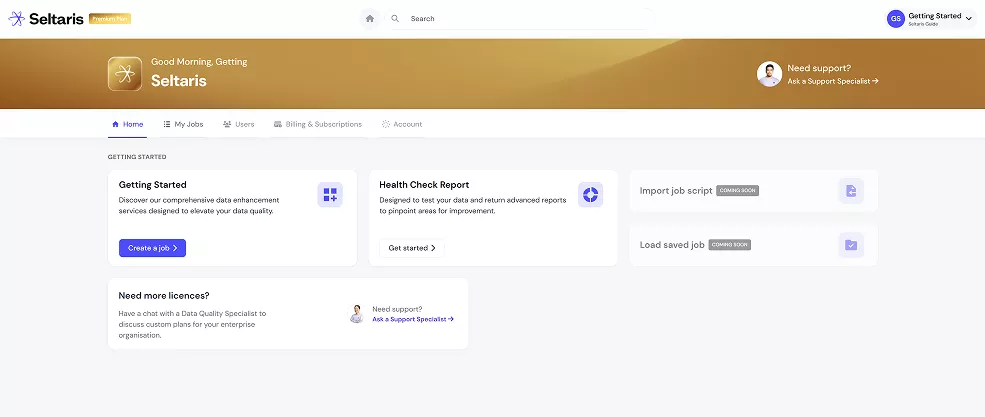
If you click Skip for Later or press the Home icon on the previous screen, you’ll be taken to the dashboard.
From here, you can start using your plan perks and begin creating Jobs or Health Check Reports. Our Getting Started Guides can help with this.
End
After purchasing a plan press on Add new user. Or navigate straight to DataTools DASH
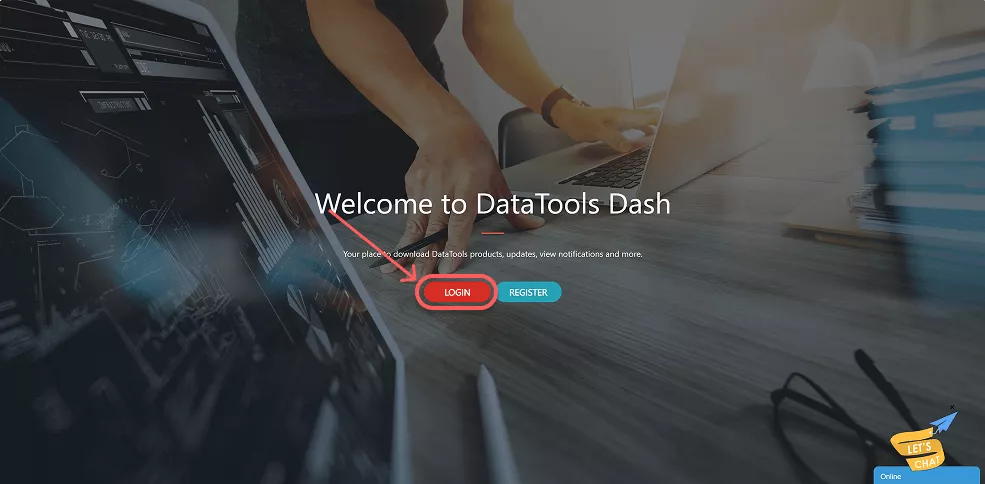
Login to DASH with the account you just purchased the plan on
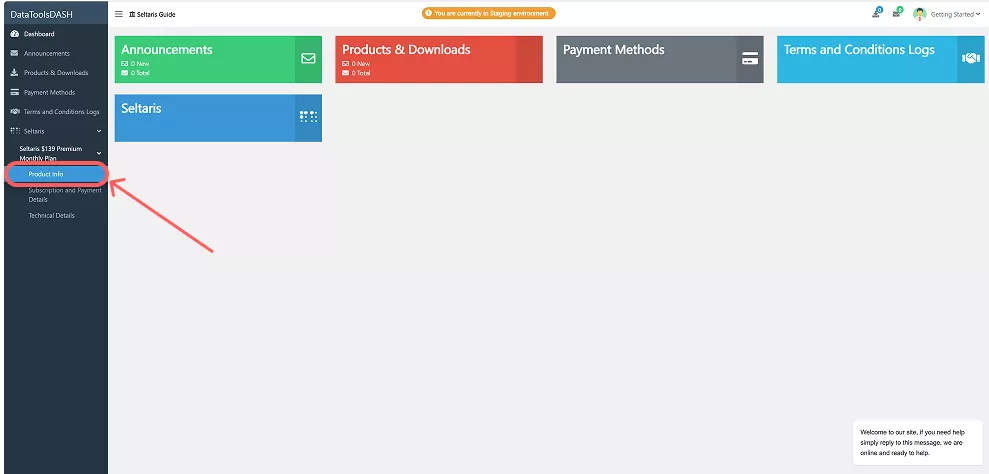
On the left navigation bar, click on Product Info under the plan you would like to share
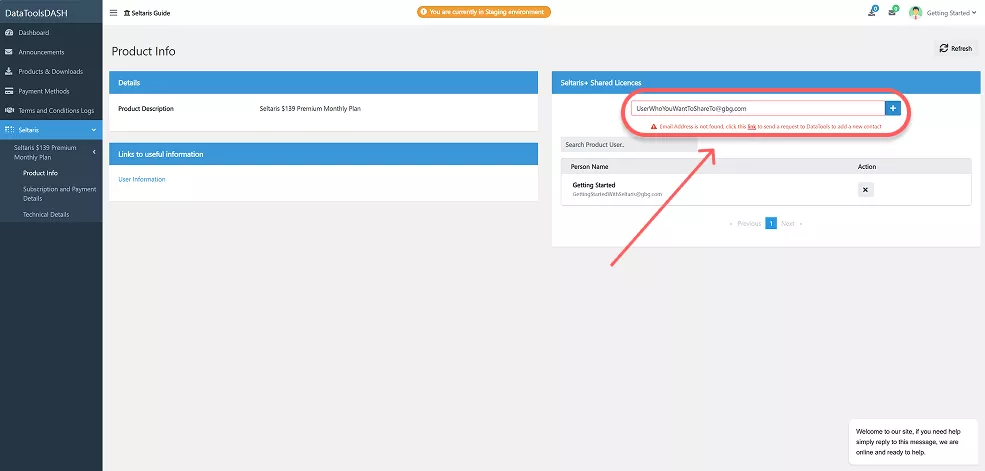
Type in the email of the person you would like to share to and press the plus icon, the red text will appear
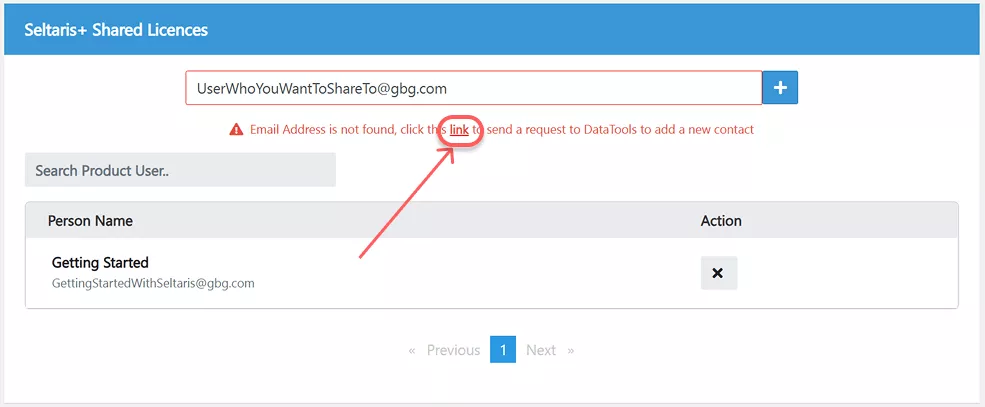
Click the underlined button which popped up, saying link
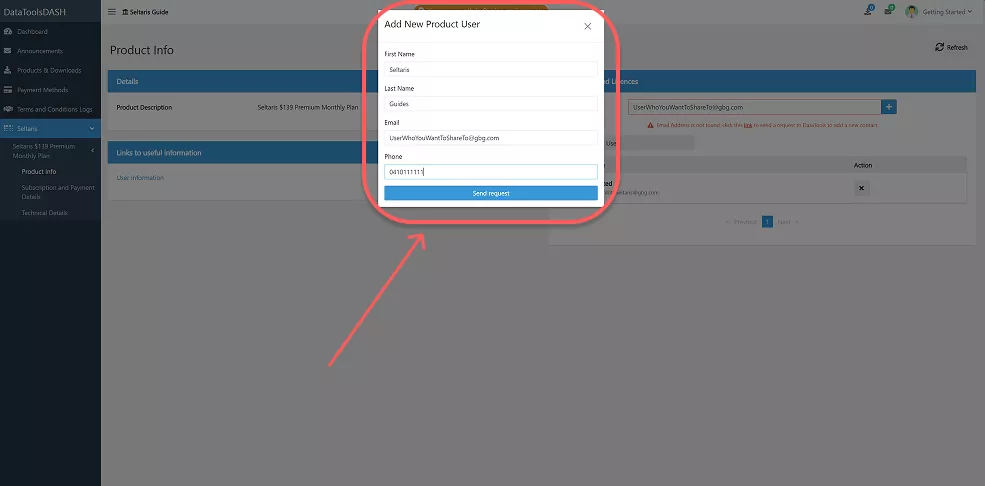
Fill out the information of the user you are sharing to and press Send request
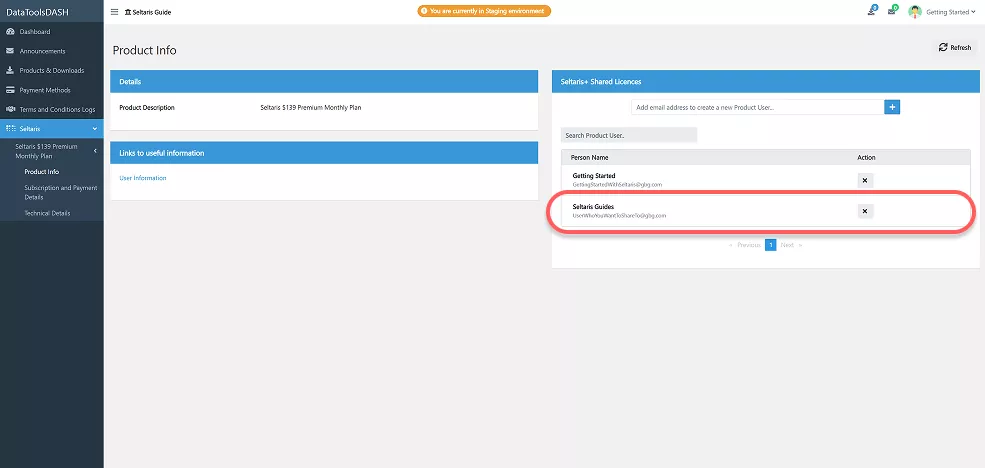
The new user will now appear in the Seltaris+ Shared Licences Box, and they will have been sent an email
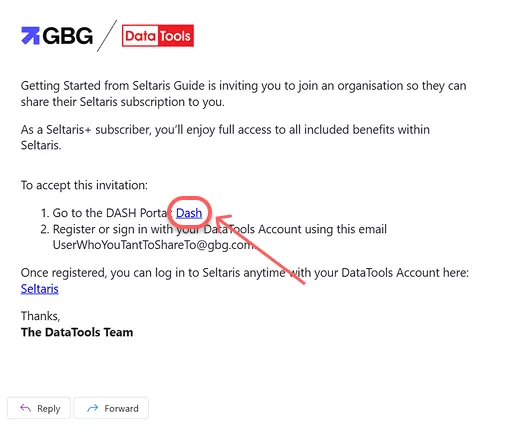
The new user will receive the following email. They need to press on the link and either login / register to DASH.
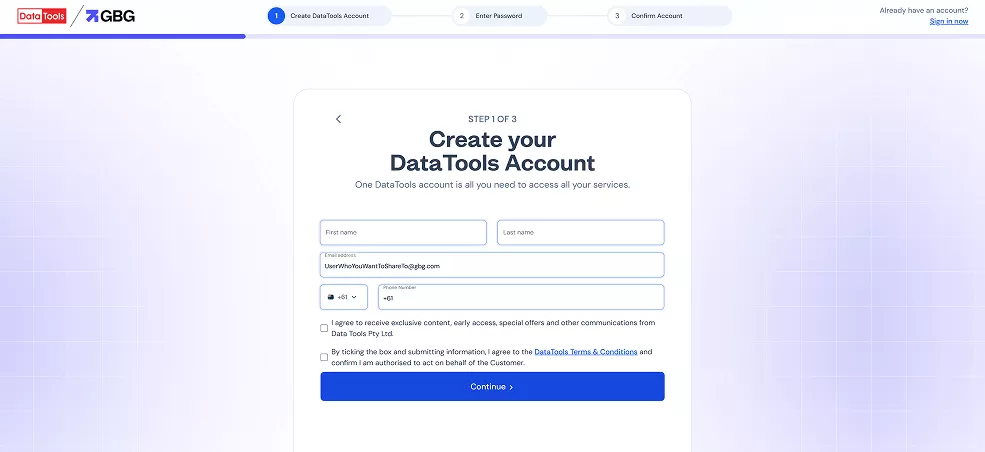
The user will be taken to DASH, where they can sign in or create a new account if needed. Simply follow the on screen steps or follow Getting Started with Seltaris to complete registration or sign-in.
After registration or sign-in is completed, the user will be able to see the shared plan on their DASH.
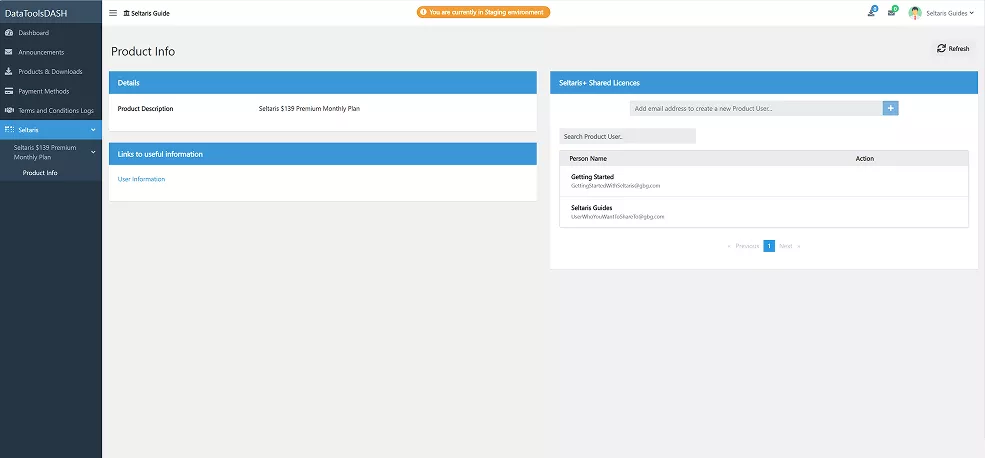
The user will now be able to sign into Seltaris, and they will have access to the shared plan.
End
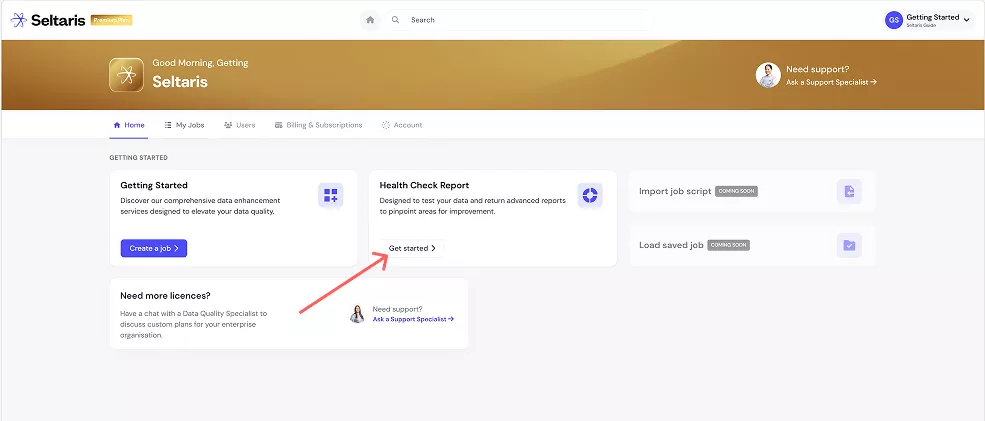
This guide will use an account with the ‘Premium Plan’, to find out how to join a plan follow Getting Started: Seltaris+ Subscriptions
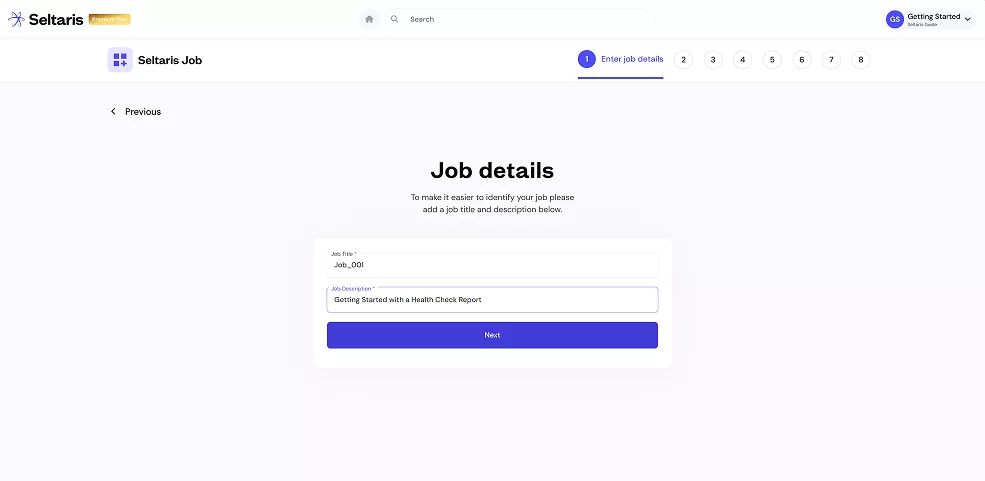
Enter your job details.
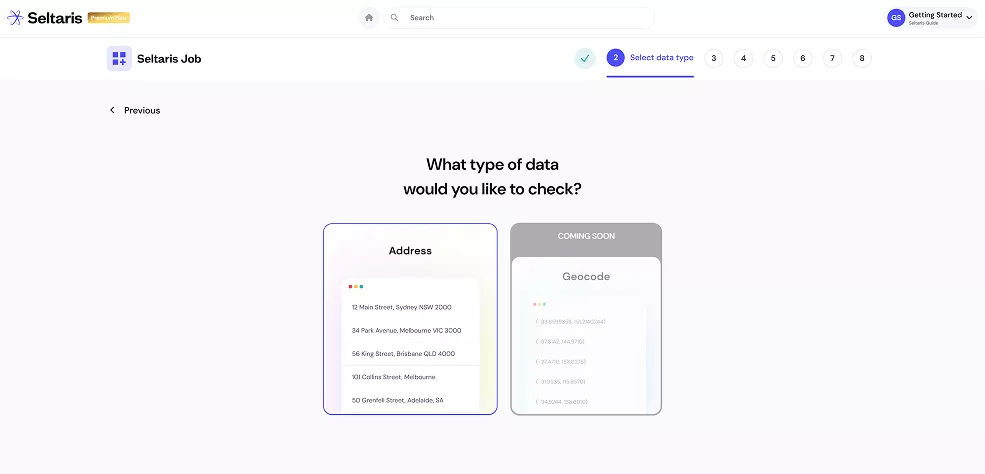
Select the type of data that you would like to check.
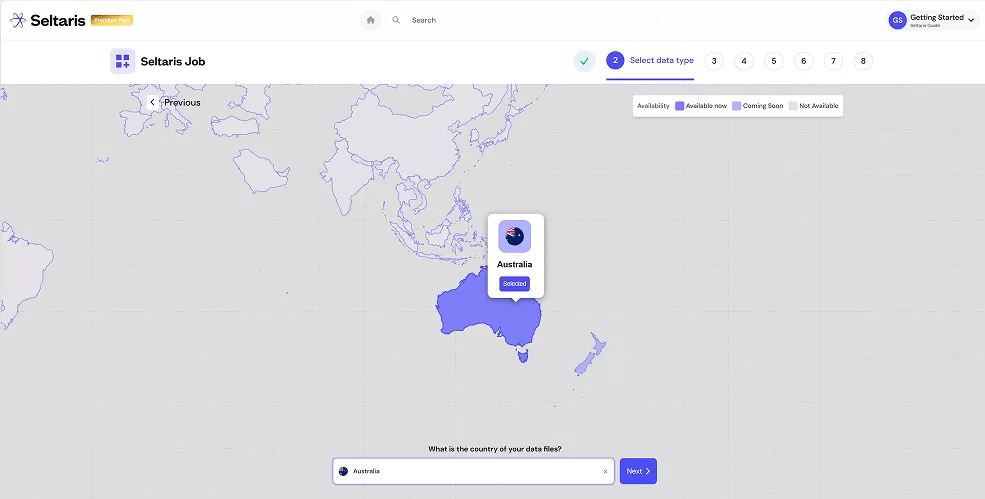
Select the country or region of your data file, then press Next
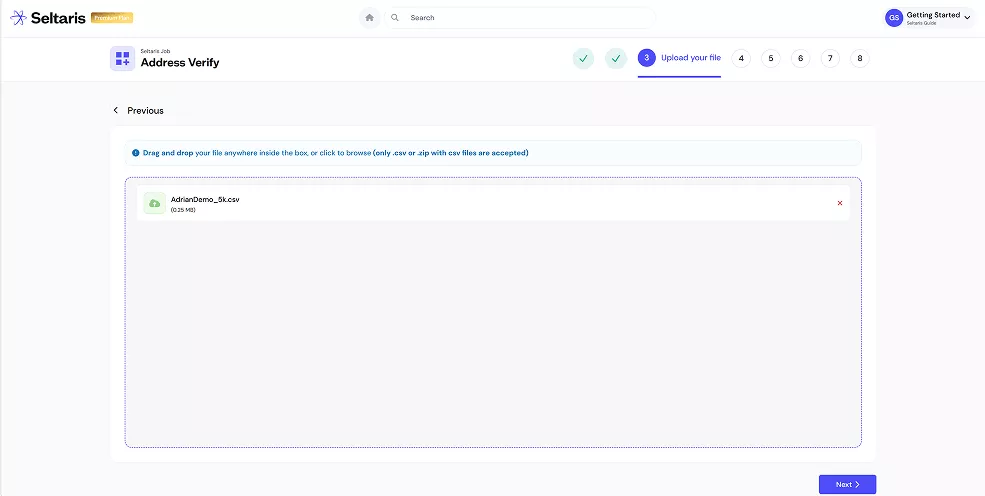
Upload the data file you want to check, then click Next.
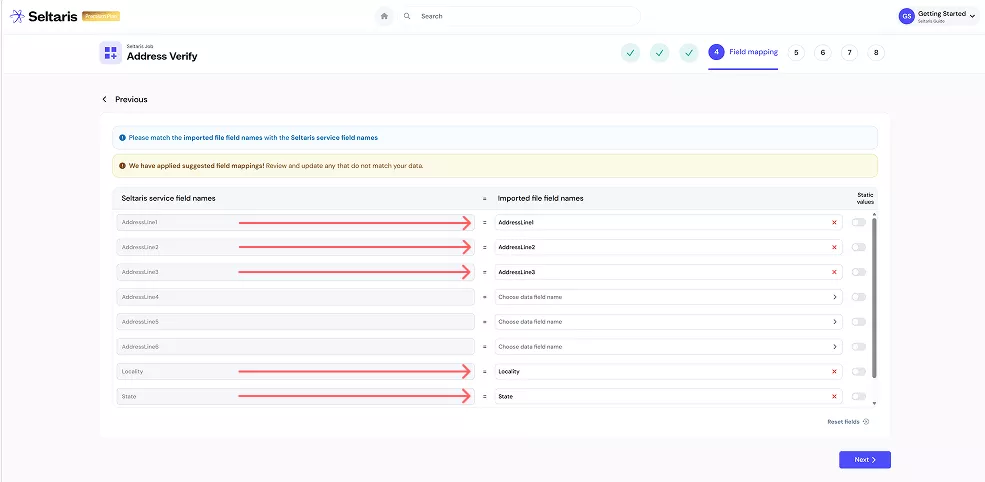
Match your imported file field names to the Seltaris service field names. You can leave some empty or set them as a static value. Make sure all essential fields are mapped from the dropdown list.
When finished click Next in the bottom-right.
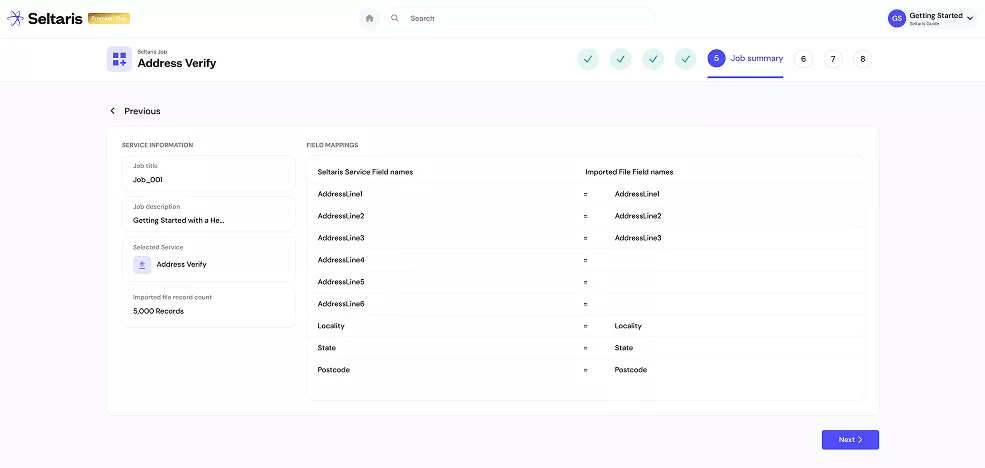
Verify that your imported file field names are correctly mapped to the Seltaris service field names. Once confirmed, click Next.
Choose either Standard or Advanced Data Protection. Note: Advanced Data Protection comes free with selected plans.

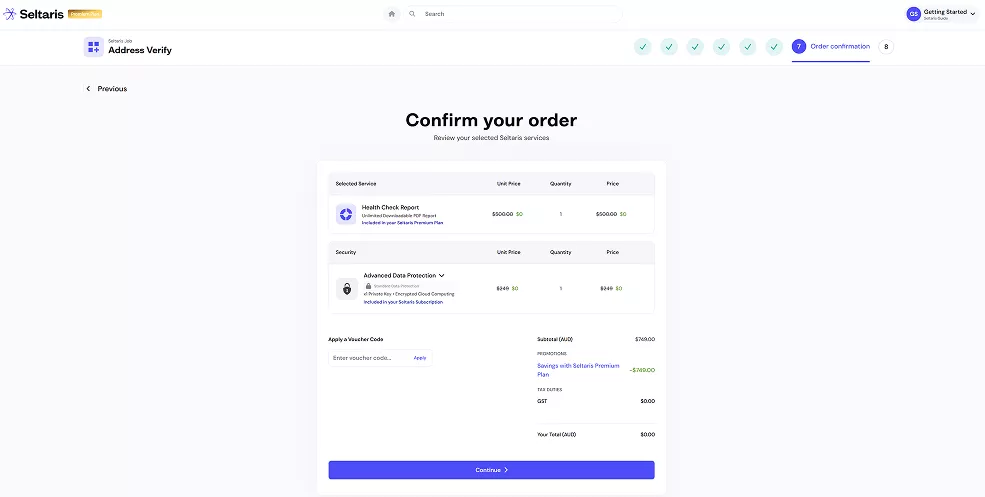
Confirm your order details.
If you haven’t already, you can subscribe to Seltaris+ to get the Health Check Report and Advanced Data Protection for free
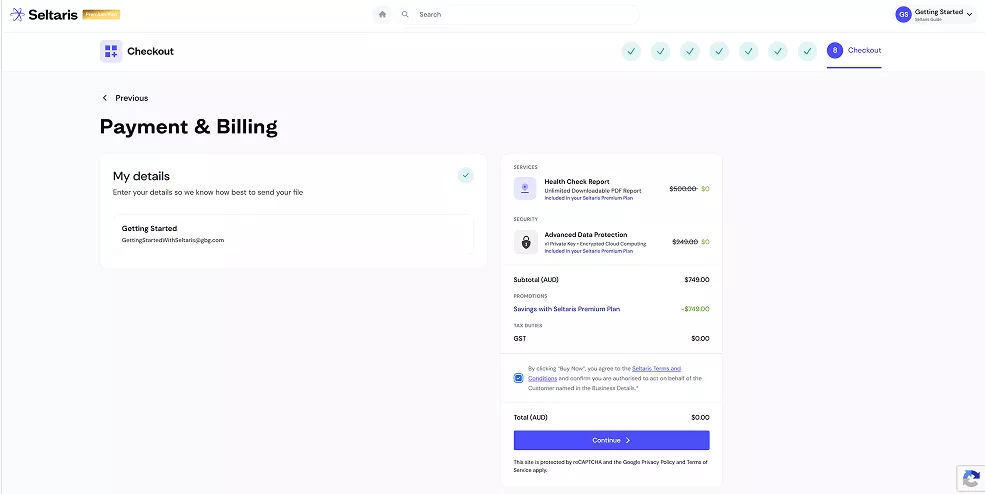
Step 10
Enter in your Payment & Billing details, review the Seltaris Terms and Conditions, then press Continue
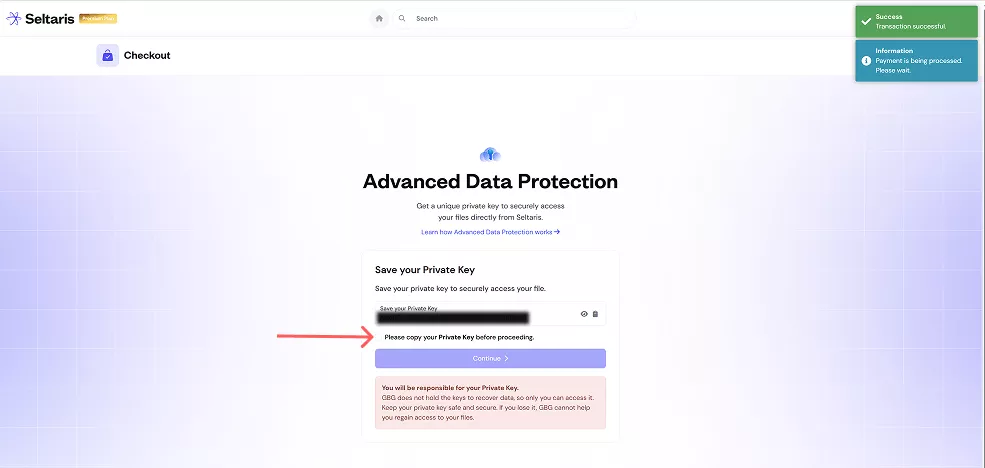
If you selected Standard Data Protection, skip to the next step. If you chose Advanced Data Protection, you’ll be taken to this screen to save your private key.
You must save this key. You will not be able to access your result file without it. Confirm you’ve stored the key, then press Continue.
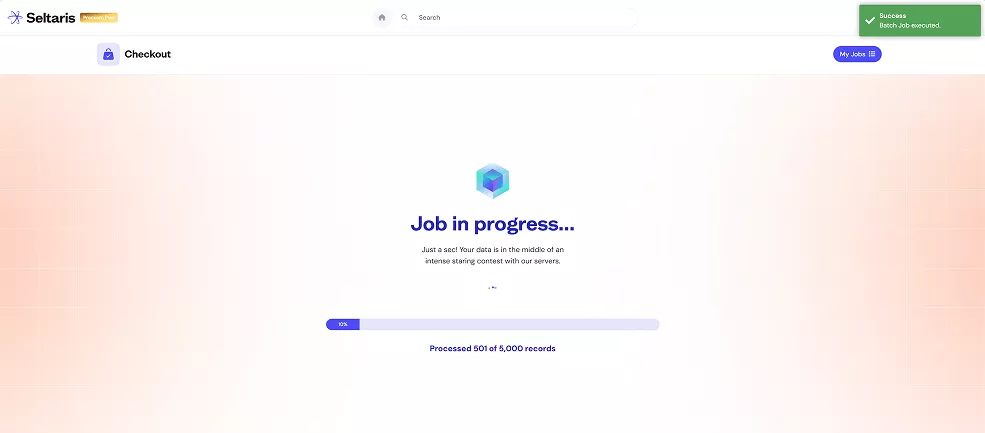
Your job will now begin processing. You can stay on the screen, close Seltaris, or navigate to the home page. If you chose to stay on the screen you will be automatically redirected to the next step once the job is complete.
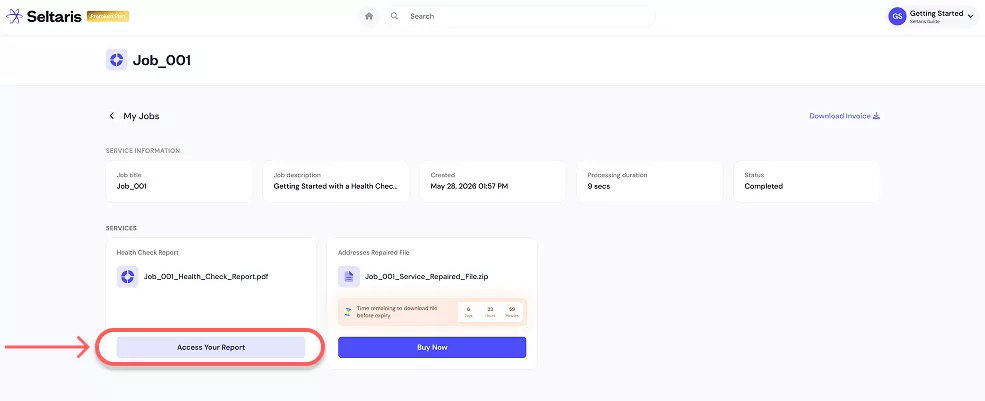
When the job finishes, it will be moved from In Progress under My Jobs to the Completed tab.
Your Health Check Report can now be downloaded by clicking Access Your Report. You can view this job anytime in the Completed section of My Jobs.
If you wish to access your result file, click on Buy Now and follow the simple steps.
End